

Create your first KuikCode
From an empty workspace to a scannable, designed code with live analytics in about five minutes.
1. Choose a destination
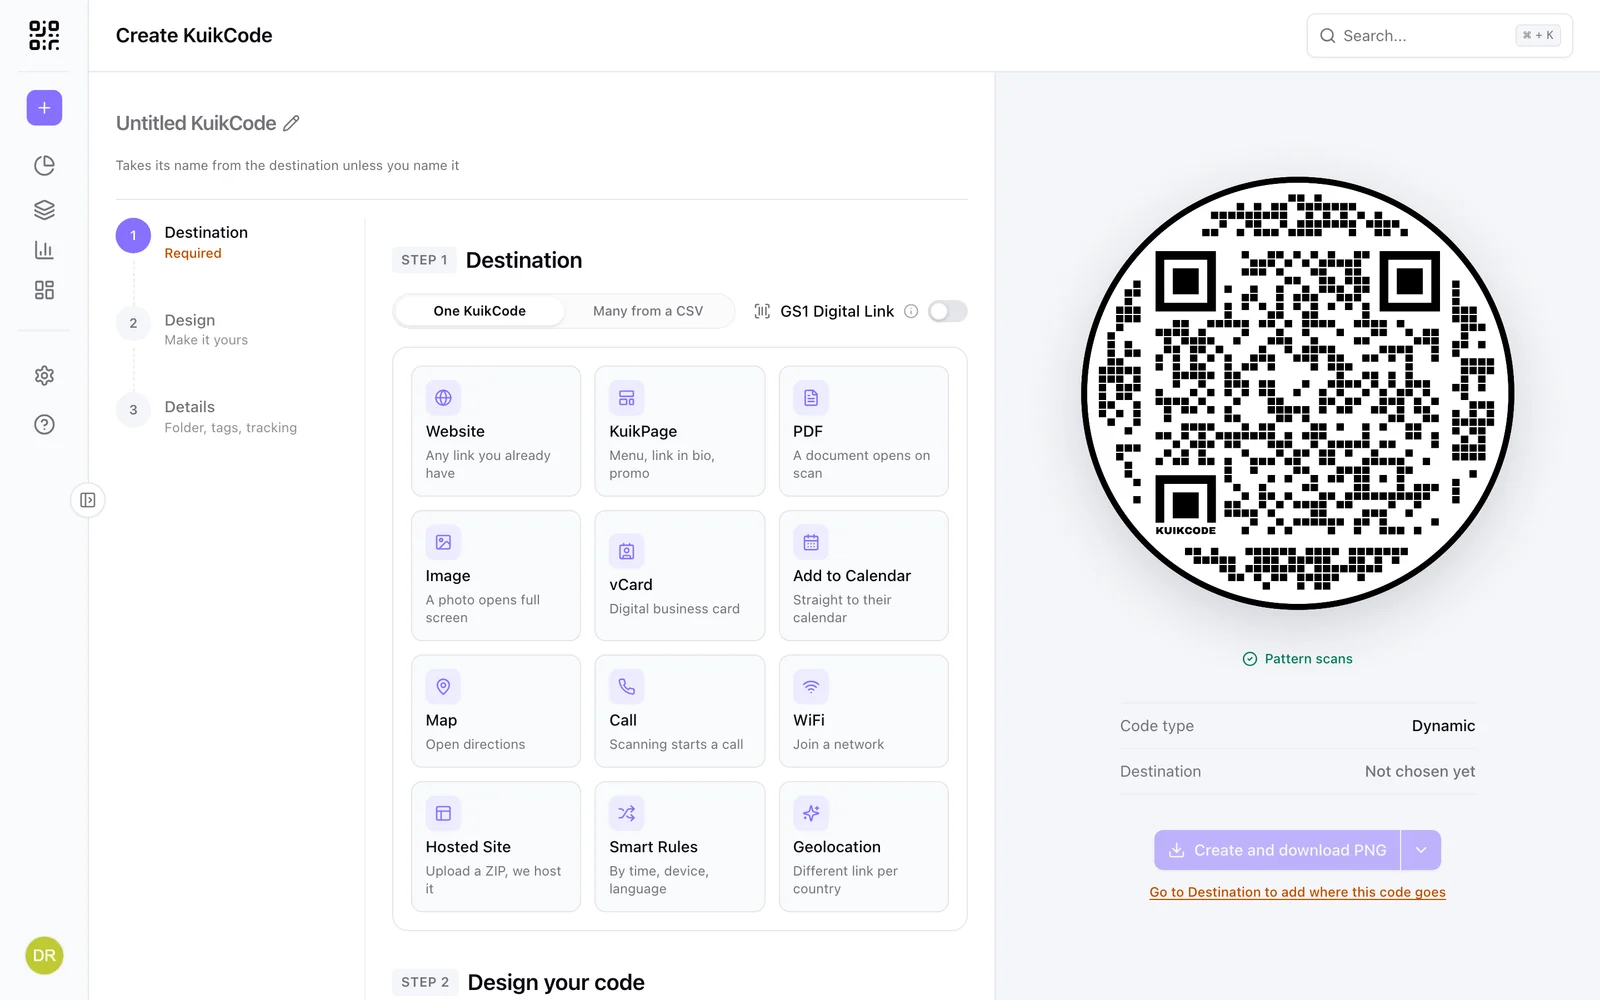
Click Create in the sidebar, then KuikCode. Step 1 asks where a scan should land. Start with Website and paste any link; the other cards (KuikPage, PDF, image, vCard, calendar, map, call, WiFi, hosted site, Smart Rules, geolocation) work the same way, and you can switch later without reprinting. The preview on the right updates from your first keystroke.
Dynamic by default
The code encodes a short KuikCode link, not your destination. Change the destination as often as you like; printed codes keep working.
2. Design the code
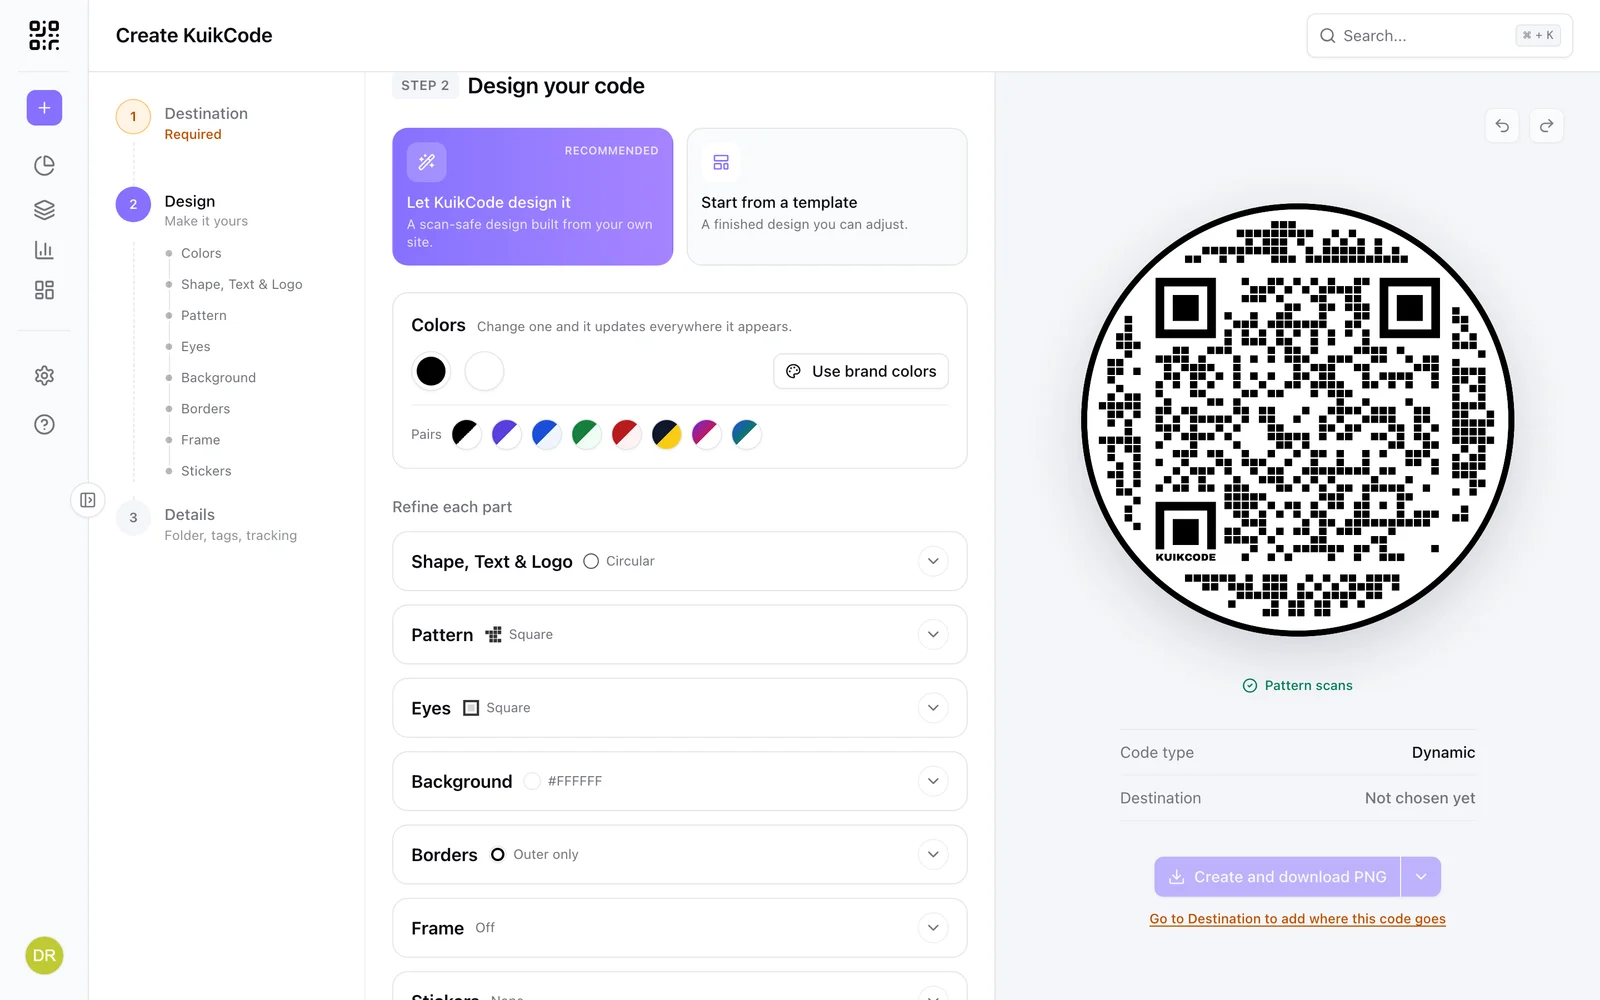
Step 2 is the design. Let KuikCode design it from your website, or start from a template, then refine by hand: colors, dot and eye shapes, a logo in the center, a frame, stickers around the rim. Every change repaints the preview and the Scan verified badge confirms the design still reads.
3. Save and download
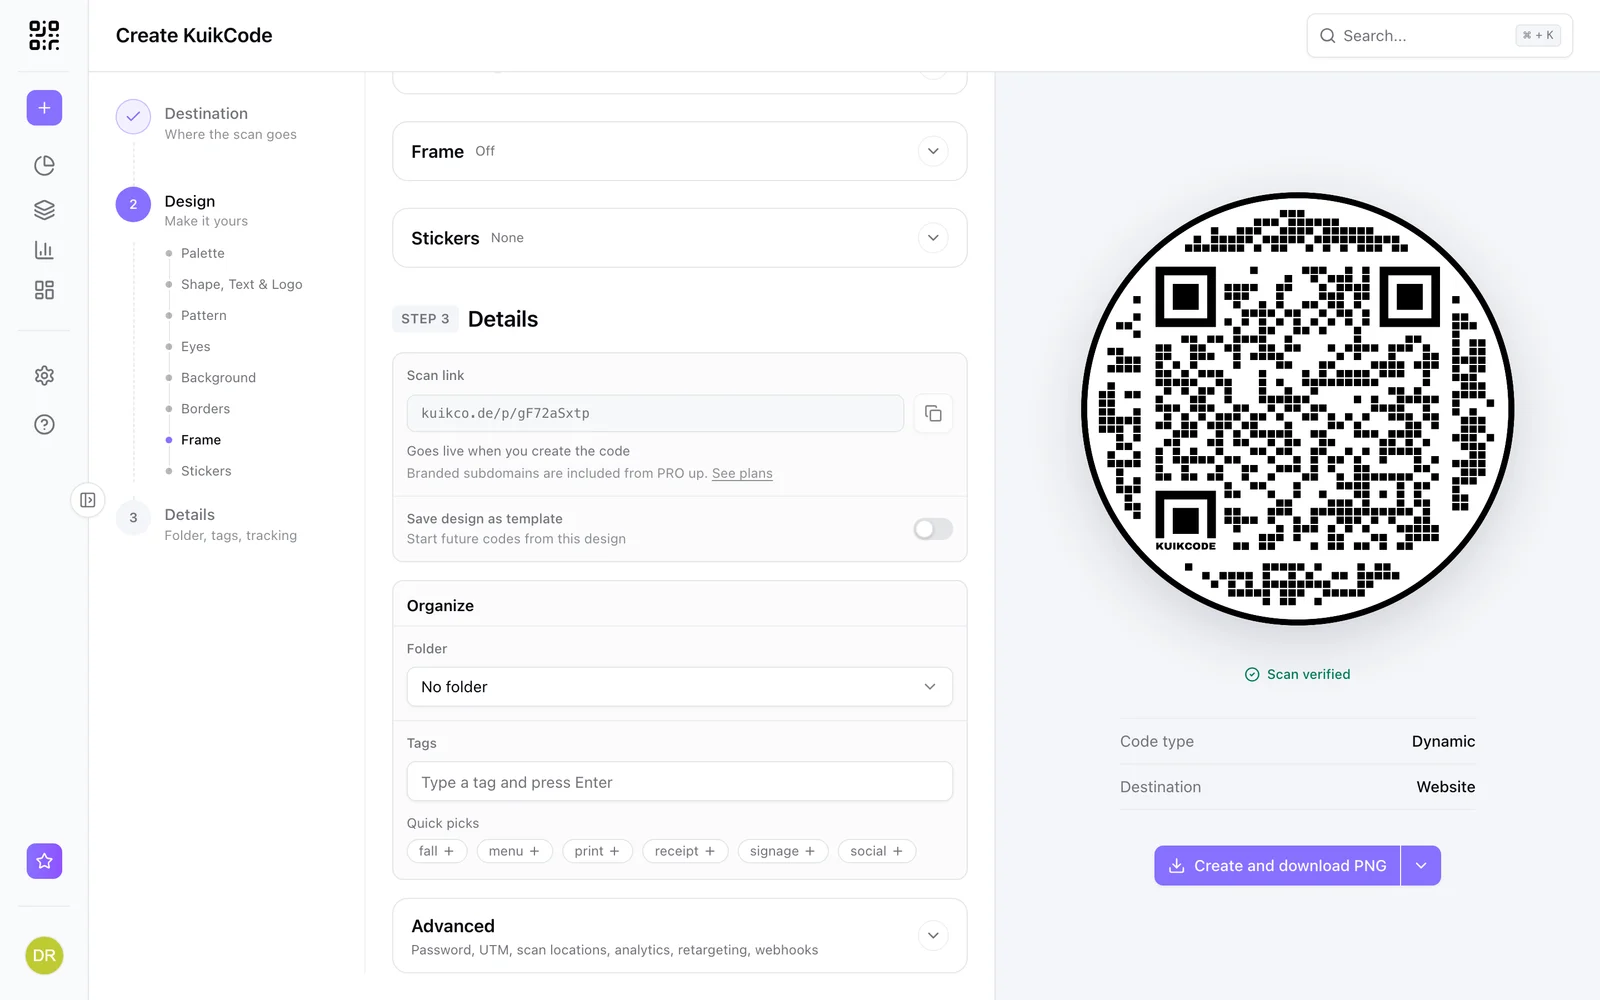
The code already has a name: the one at the top of the editor, taken from its destination. Click it to change it. Optionally file the code in a folder and add tags in Step 3, then Create and download. PNG is recommended for print; JPG, SVG and PDF are a click away.
4. Scan and read the analytics
Point a phone camera at the code. The scan appears in Analytics within seconds: time, country and city, device and browser, and the destination that was served. Realtime, reports and exports build on the same data.
Next steps
- Change the destination of a printed code from the code's page. The artwork does not change.
- Create hundreds of codes at once with the CSV bulk tool.
- Build a KuikPage and point the code at it.
- Automate all of it through the API.